How To Access TP Link Deco Login? A Quick Guide
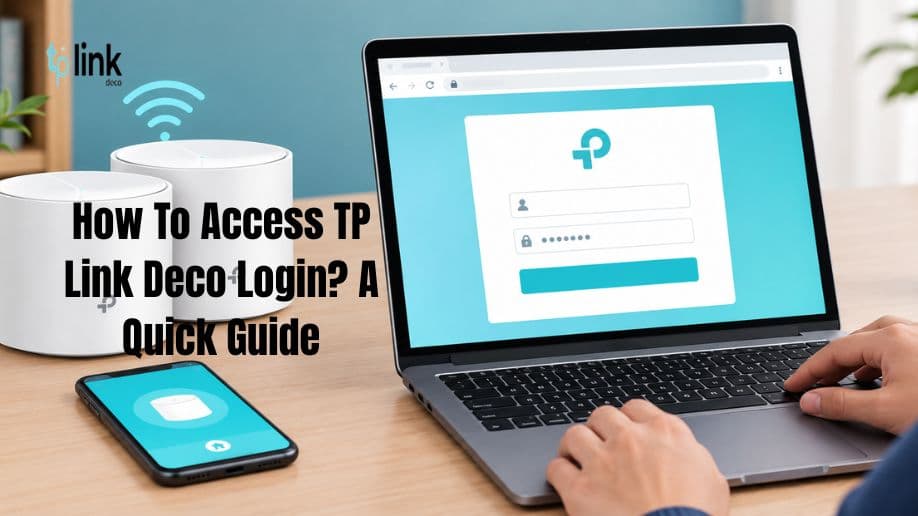
To access the TP Link Deco login system, use the TP-Link Deco app on your smartphone. Install the app. Sign in with your TP-Link ID. Choose your Deco network to manage WiFi settings and the devices that are connected. You can also examine firmware updates and fix common network problems through the app.
On this page
Table of Contents
On this page
Table of Contents
What Is TP Link Deco Login?
TP Link Deco login helps people keep control of their Deco mesh WiFi network. It lets you see which devices are connected and change network settings via the Deco app. You can also set controls and configure guest WiFi depending on your Deco model.
The Deco system is built to give wireless coverage in every room of your home or office.
How To Access TP Link Deco Login?
Follow these steps to access your Deco network.
Step 1: Install the Deco App
- Open the Google Play Store or Apple App Store.
- Search for the TP-Link Deco app.
- Install the application.
- Open the app on your smartphone.
Step 2: Sign In to Your TP-Link Account
- Open the Deco app.
- Enter your TP-Link ID and password.
- Create an account if you do not have one.
- Follow the on-screen instructions to continue.
- Use the TP-Link ID associated with your Deco network whenever possible.
Step 3: Select Your Deco Network
- After you sign in choose your existing Deco network from the app dashboard.
- You can see which devices are connected and change the network settings that’re available.
- If your Deco system is not set up yet, follow the app instructions to add your device.
Step 4: Manage Your WiFi Settings
Once you reach the network dashboard, you can adjust the settings that are supported, such as:
- WiFi name and password
- Connected devices
- Guest network settings
- Parental controls
- Network security features
- The options you see may change based on your Deco model and firmware version.
How To Complete Deco WiFi Setup
- A good Deco WiFi setup builds a mesh network.
- Connect the Deco unit to your modem with an Ethernet cable.
- Plug the modem and the Deco unit into their power outlets.
- Wait until the Deco LED shows that the unit is ready for setup.
- Open the Deco app. Sign in to your TP-Link account.
- Follow the prompts to choose your model and set up the internet connection.
- Create your WiFi name and password.
- Add Deco units if needed.
- Put the units in spots where they can get a strong signal from the main unit.
How To Perform a TP Link Deco Firmware Update
Updating TP Link Deco firmware can make the network steadier. Fix known software problems.
- Open the Deco app.
- Choose your Deco network.
- Go to the update section. The menu name may differ on each model.
- See if a firmware update is ready.
- Follow the prompts to install the update.
- Wait until the process ends before restarting or unplugging the device.
- Keep the Deco powered on during the update to prevent any stops.
2. Can I access TP Link Deco login through a browser?
Most Deco models are managed through the Deco app.
Browser-based management options vary by model and should be confirmed in the official documentation.
3. What should I do if I forget my TP-Link ID password?
To reset your password, use the password recovery option on the TP‑Link account sign-in page. Follow the instructions carefully.
4. How often should I perform a TP Link Deco firmware update?
Check for updates regularly. Install them when the system recommends. Follow the instructions that match your Deco model.
5. Does Deco wifi setup require an internet connection?
Usually, an internet connection is needed to finish the setup and to configure services. The exact needs can change depending on the model. The method you use for setup.
Comments
0 comments
No comments yet. Be the first to comment.
Related Articles
Sep 21, 2026
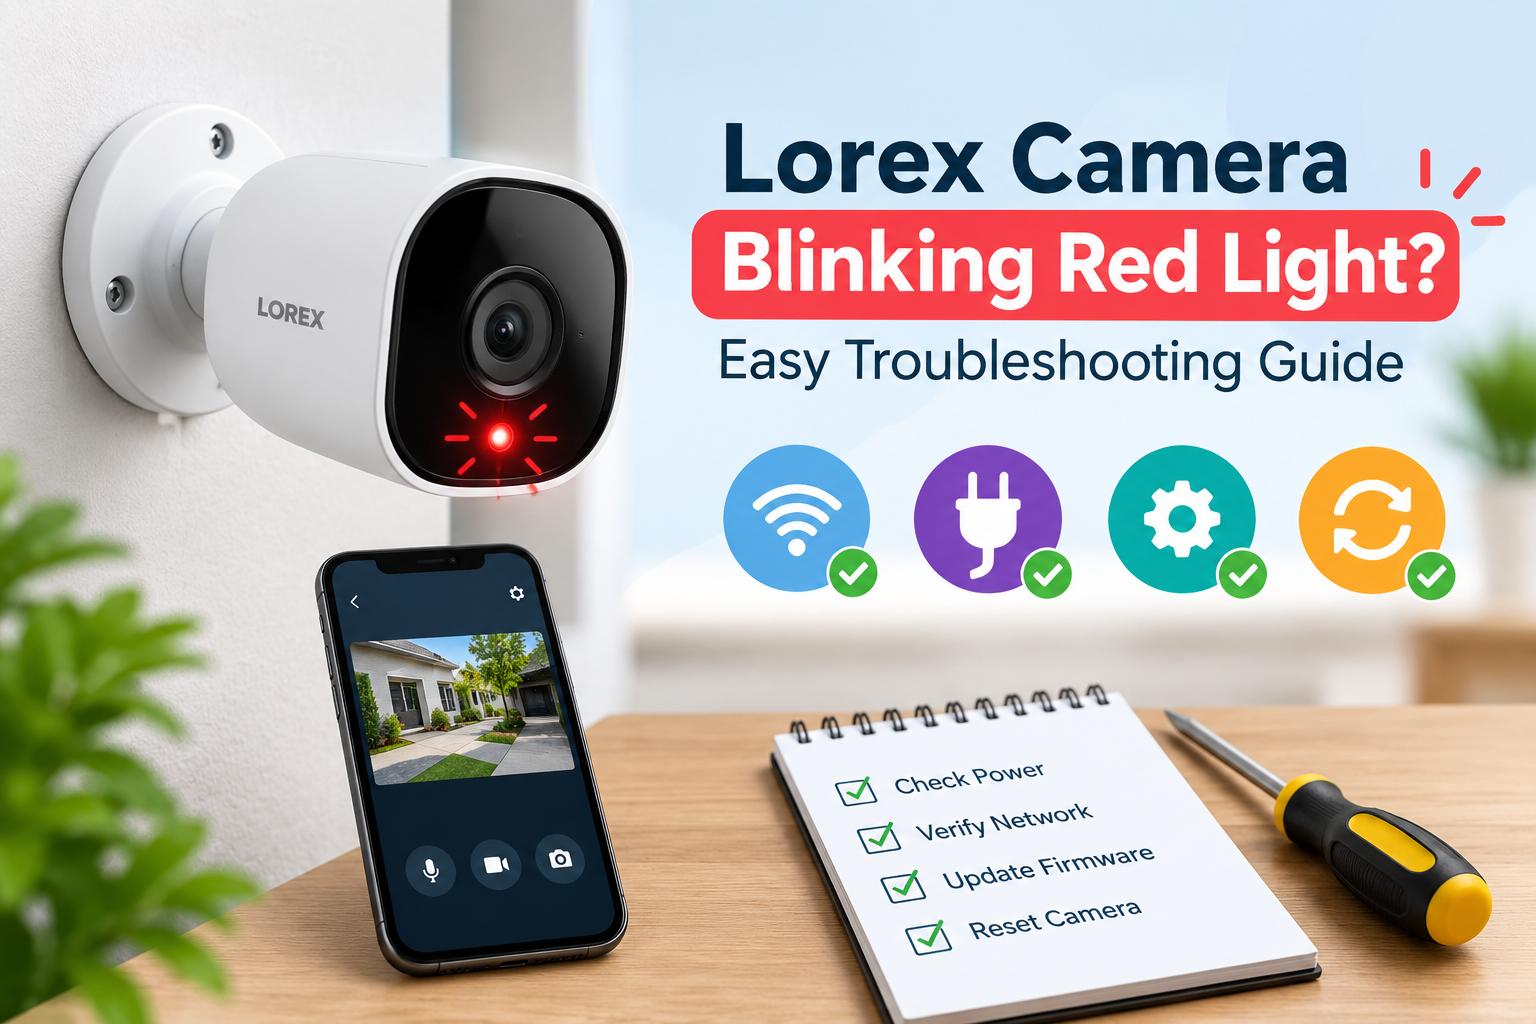
Lorex Camera Blinking Red Light? Easy Troubleshooting Guide
If your Lorex Camera Blinking Red Light issue is preventing the camera from connecting or working properly, the light may indicate a power, network, setup, or connection problem. The exact meaning of a red blinking light can vary by Lorex camera model, so check your model’s manual for the specific LED behavior. This guide explains…

Sep 10, 2026
How to Automate Workflows with AI: A Step-by-Step Guide
To automate a workflow with AI, map your current process first, identify where decisions actually get made, then choose a no-code builder, API-based setup, or managed provider based on your team’s technical skill. Add machine learning or generative AI only where judgment is genuinely needed, keep a human checkpoint at the first version, and measure…